✅ Bit Browser: Downloaded and installed the latest version of the Bit Browser client (download from the official website)
✅ Proxy Information: Obtained complete proxy details from the LokiProxy dashboard, including username, password, proxy host, and port (prepare according to the selected proxy type)
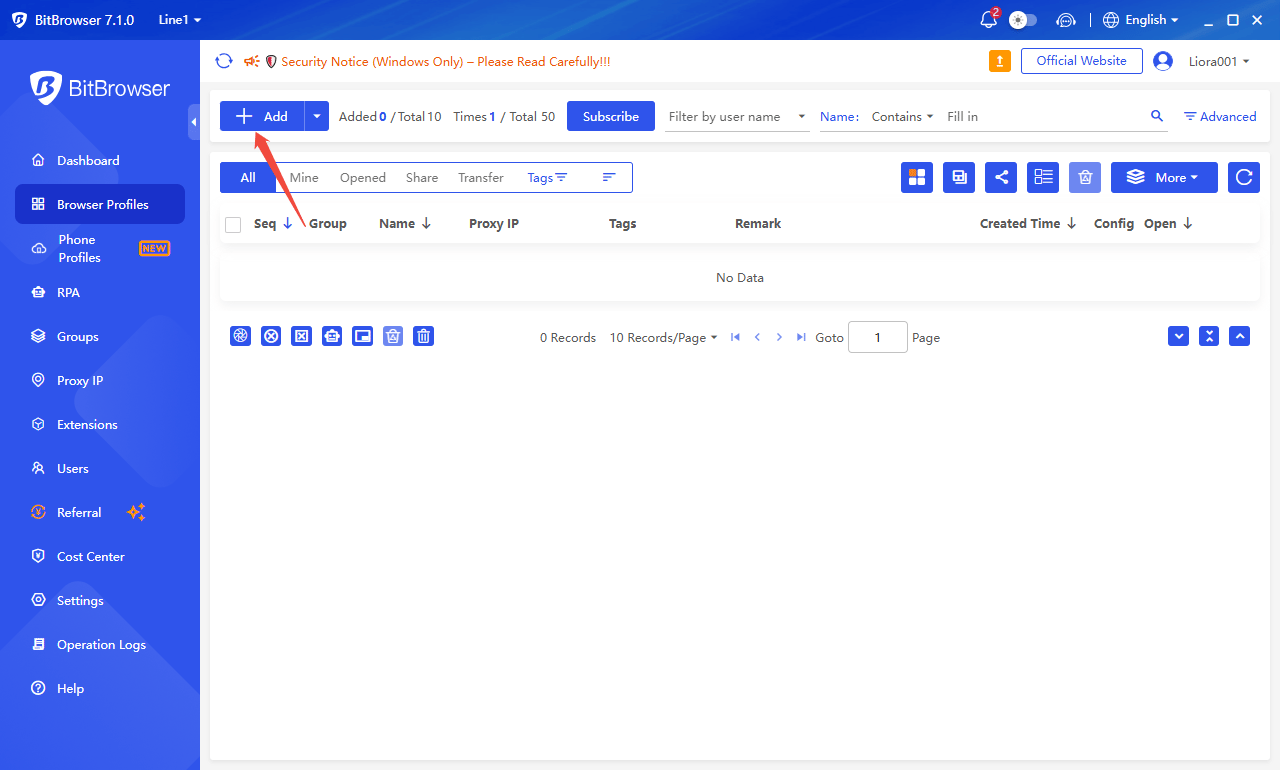
1. Open Bit Browser and click 【Add】
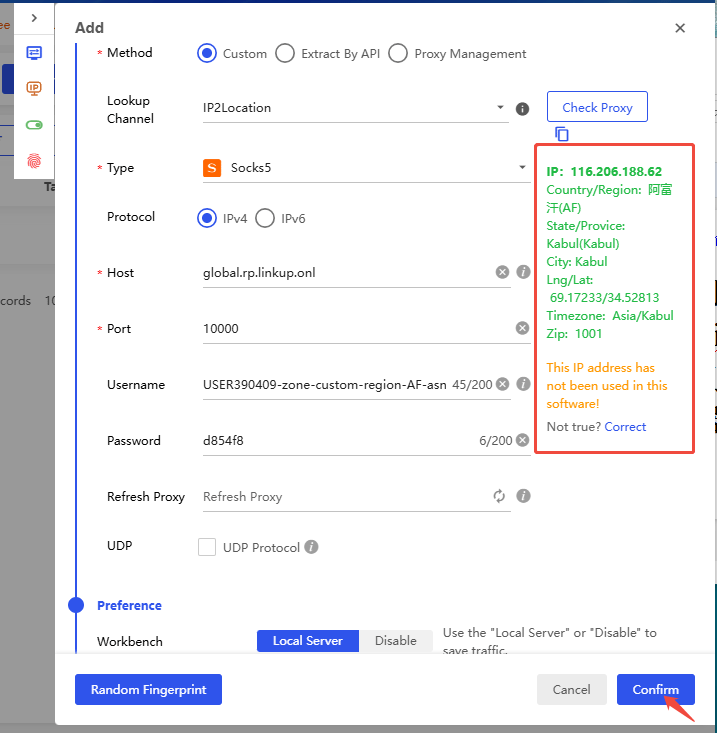
2. Enter your proxy information in the 【Proxy】 section.
This example uses username/password authentication. Fill in the parameters (host, port, username, and password) obtained from the LokiProxy dashboard - Proxy Settings page into the corresponding fields in Bit Browser: Host, Port, Username, and Password.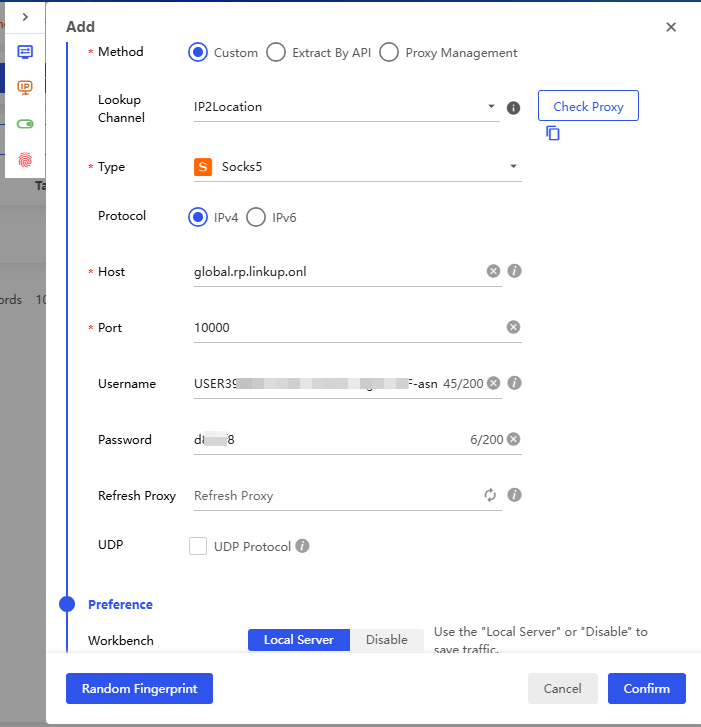
3. Click 【Check Proxy】
If green information appears, it means the detection is successful. Confirm and save, then it’s ready to use.